记录 ROS 学习过程 Part2。
主要内容:ROS 测试、快速体验、开发环境搭建、架构认识。
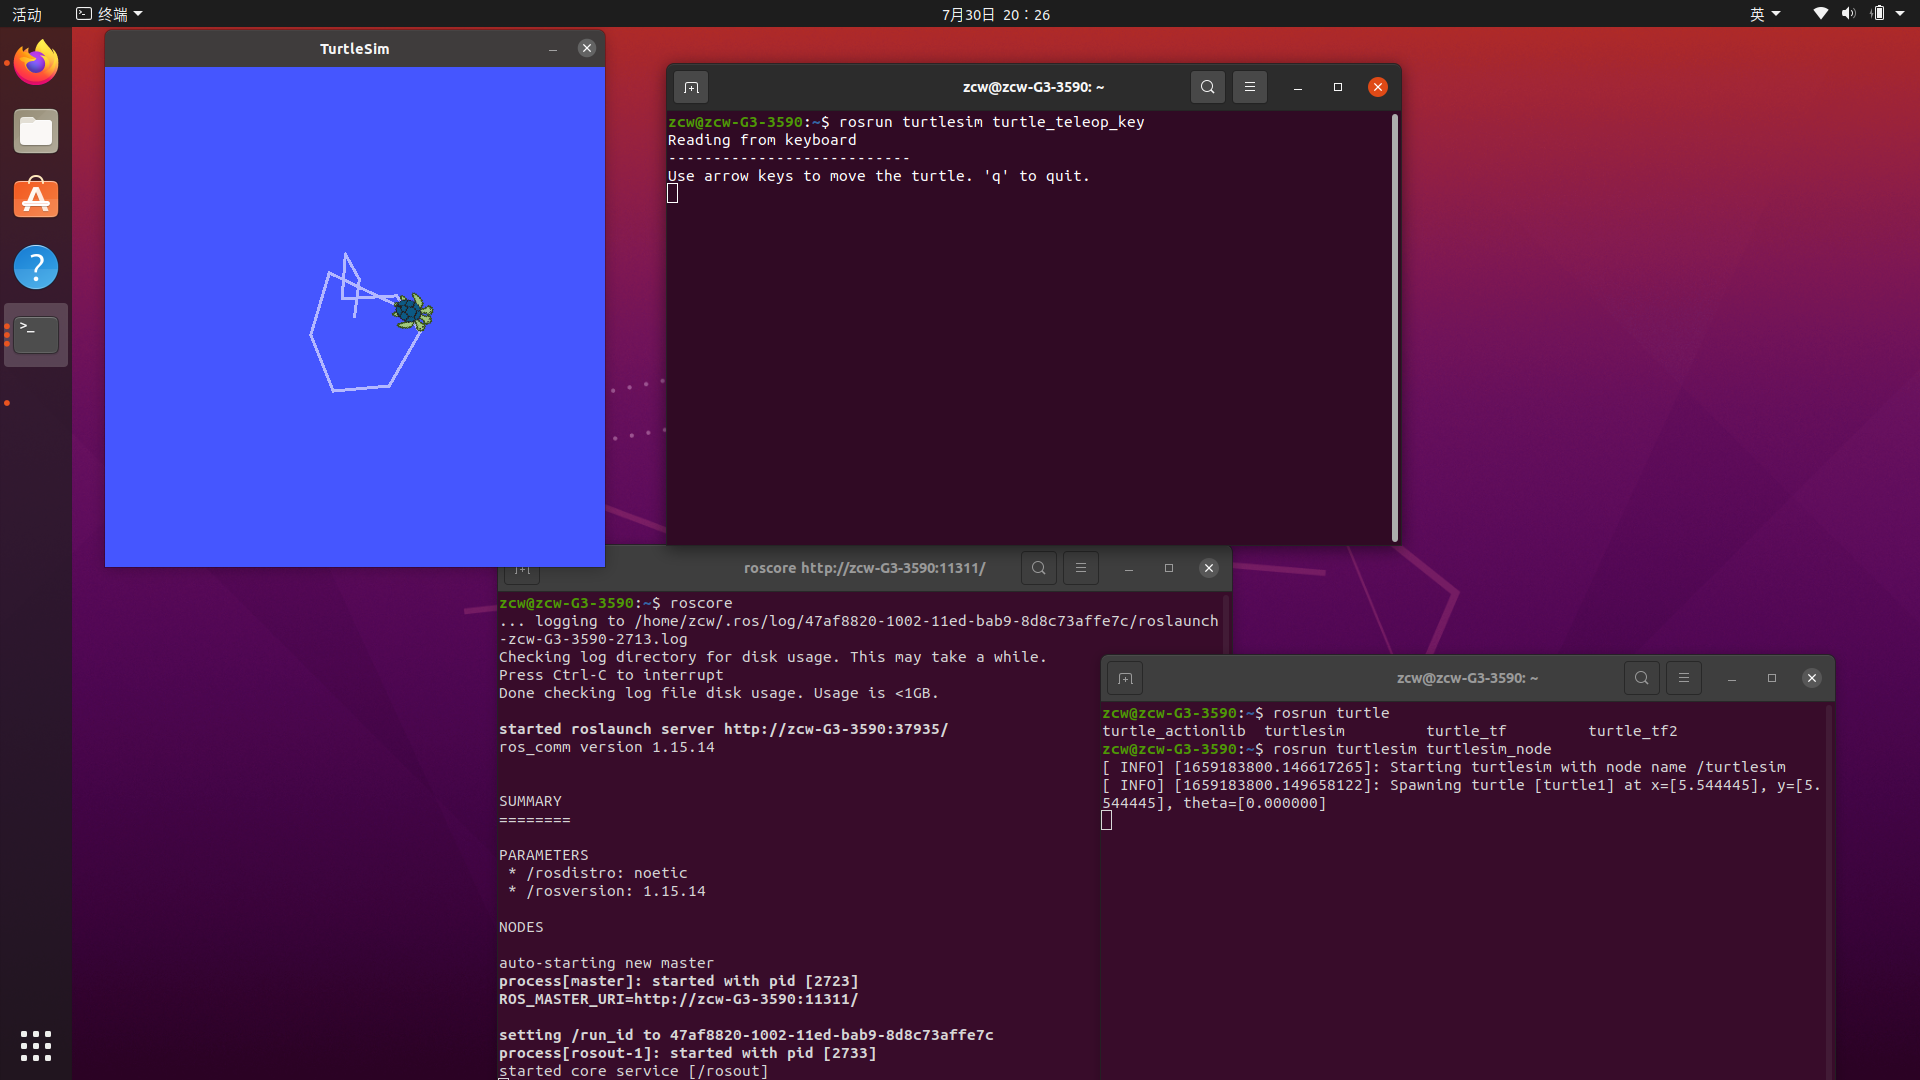
测试 ROS
开启三个终端,分别运行:
1
2
3
| roscore
rosrun turtlesim turtlesim_node #运行后弹出图形化界面
rosrun turtlesim turtle_teleop_key #运行后可以通过方向键控制海龟的运动
|
创建工作空间及初始化
1
2
3
4
5
6
7
8
| #创建工作空间并初始化
mkdir -p 自定义空间名称/src
cd 自定义空间名称
catkin_make
#进入 src 创建 ros 包并添加依赖
cd src
catkin_create_pkg 自定义ROS包名 roscpp rospy std_msgs
|
HelloWorld 的 C++/Python 实现
C++ 实现
1、创建 ROS 工作空间
1
2
3
4
5
6
7
8
9
10
11
12
13
14
| #创建工作空间 demo01 并初始化
mkdir -p demo01/src
cd demo01
catkin_make
#进入 src 创建 名为 helloworld 的 ros 包并添加依赖
cd src
catkin_create_pkg helloworld roscpp rospy std_msgs
#进入创建的 ros 包
cd helloworld
#创建 helloworld_c.cpp
gedit helloworld_c.cpp
|
2、编辑 cpp 文件:
1
2
3
4
5
6
7
8
9
10
11
12
13
| #include "ros/ros.h"
int main(int argc, char *argv[])
{
//执行 ros 节点初始化
ros::init(argc,argv,"hello");
//创建 ros 节点句柄
ros::NodeHandle n;
//控制台输出 hello world
ROS_INFO("hello world!");
return 0;
}
|
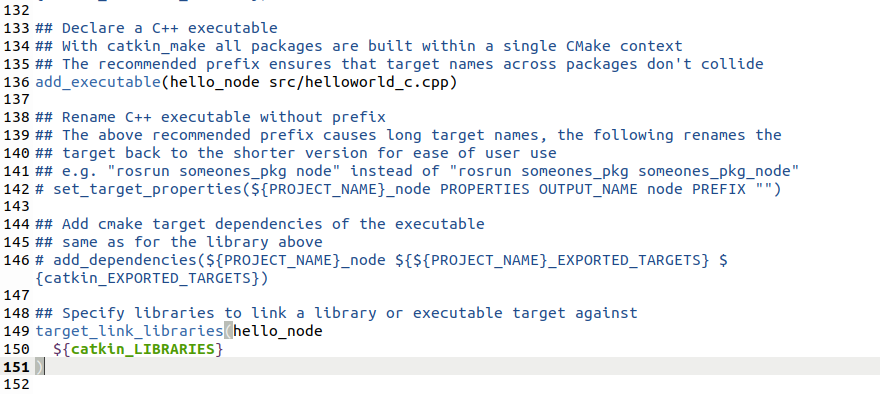
3、编辑 helloworld 包下的 Cmakelist.txt 文件
1
2
3
4
5
6
| add_executable(任取节点名
src/helloworld_c.cpp
)
target_link_libraries(任取节点名
${catkin_LIBRARIES}
)
|
4、编译
1
2
3
4
| #进入工作空间
cd demo01
#编译
catkin_make
|
编译成功:

5、执行
1
2
3
4
5
6
7
8
9
10
| #在终端 1 执行
roscore
#在终端 2 执行
#进入工作空间
cd demo01
#刷新环境变量
source ./devel/setup.bash
#rosrun 包名 节点名
rosrun helloworld hellow_node
|
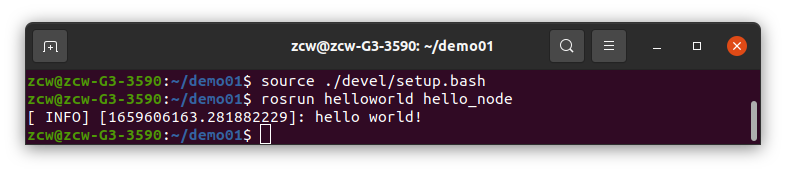
如果没有执行source ./devel/setup.bash在当前终端刷新环境变量,则会报错,另开一个终端也要再执行一次。
 若嫌太麻烦,可以执行
echo "source ~/工作空间名/devel/setup.bash" >> ~/.bashrc,之后就不用每次打开都执行一次。
Python 实现
1、创建 py 文件
1
2
3
4
5
6
7
8
| #进入 helloworld 功能包
cd demo01/src/helloworld
#创建 scripts 文件夹
mkdir scripts
#进入 scripts 文件夹
cd ./scripts
#创建 py 文件
gedit hw_py.py
|
2、编辑 py 文件
1
2
3
4
5
6
7
8
9
| #! /usr/bin/env python
#导入 rospy 包
import rospy
#编写主入口
if __name__ == "__main__":
#初始化 ros 节点
rospy.init_node("hello_py")
#输出日志
rospy.loginfo("hello world! by python")
|

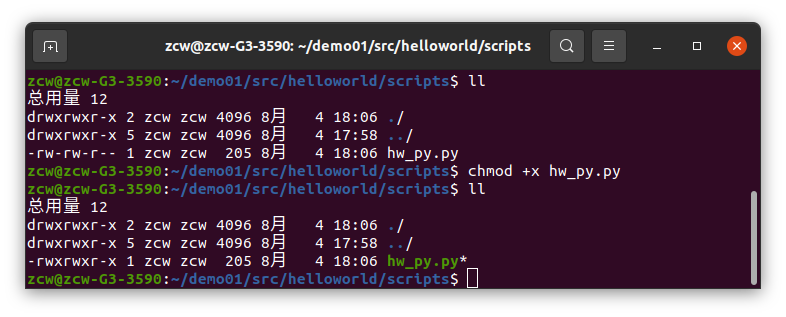
3、为 python 文件添加可执行权限
4、编辑 helloworld 下的 CamkeList.txt 文件
1
2
3
| catkin_install_python(PROGRAMS scripts/hw_py.py
DESTINATION ${CATKIN_PACKAGE_BIN_DESTINATION}
)
|

5、编译
1
2
3
4
| #进入工作空间
cd demo01
#编译
catkin_make
|
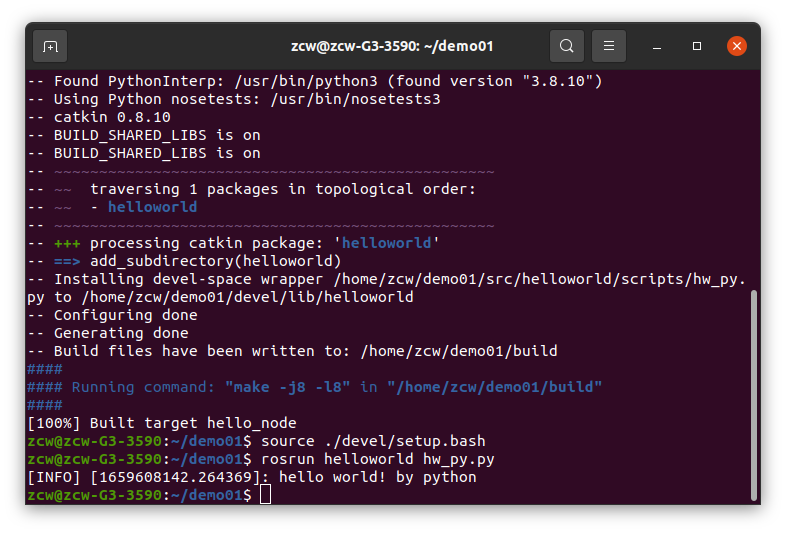
6、执行
1
2
3
4
5
6
7
8
9
10
| #在终端 1 执行
roscore
#在终端 2 执行
#进入工作空间
cd demo01
#刷新环境变量
source ./devel/setup.bash
#rosrun 包名 py 文件名
rosrun helloworld hw_py.py
|
安装并使用 VScode
下载安装包
下载地址:https://code.visualstudio.com/docs?start=true
历史版本下载:https://code.visualstudio.com/updates
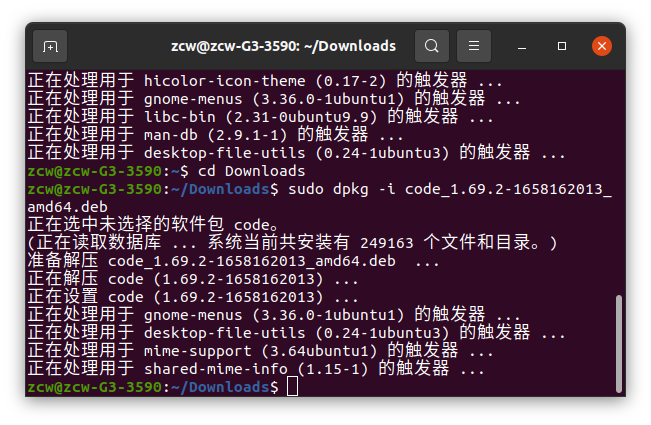
安装
1
2
| #在下载目录打开终端,执行
sudo dpkg -i xxxx.deb
|
卸载
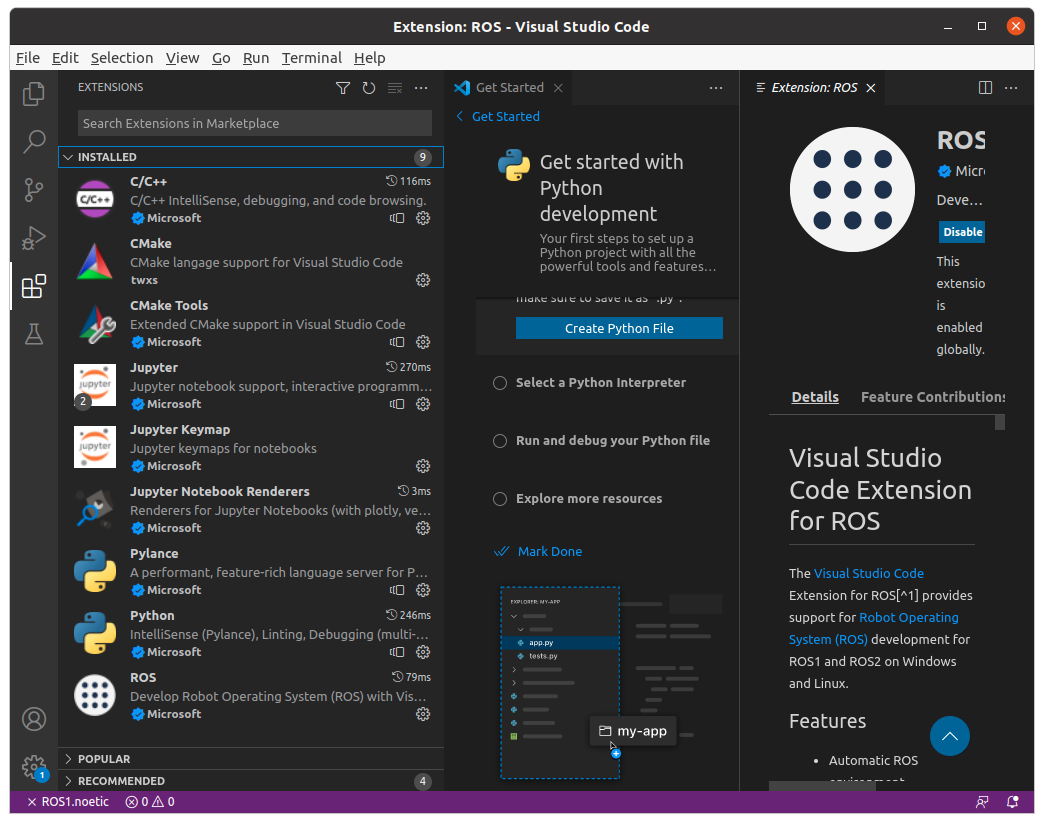
添加插件
在插件里搜索并下载 C/C++、CMake Tools、Python、ROS。
vscode 基本使用
1、创建 ROS 工作空间并启动 vscode
1
2
3
4
5
6
7
| #创建工作空间 demo02 并初始化
mkdir -p demo02/src
cd demo02
catkin_make
#启动 vscode
code .
|
2、配置默认编译选项
快捷键:Ctrl + Shift + B,选择 catkin_make:build 的设置选项,进入 .vscode/tasks.json 文件。

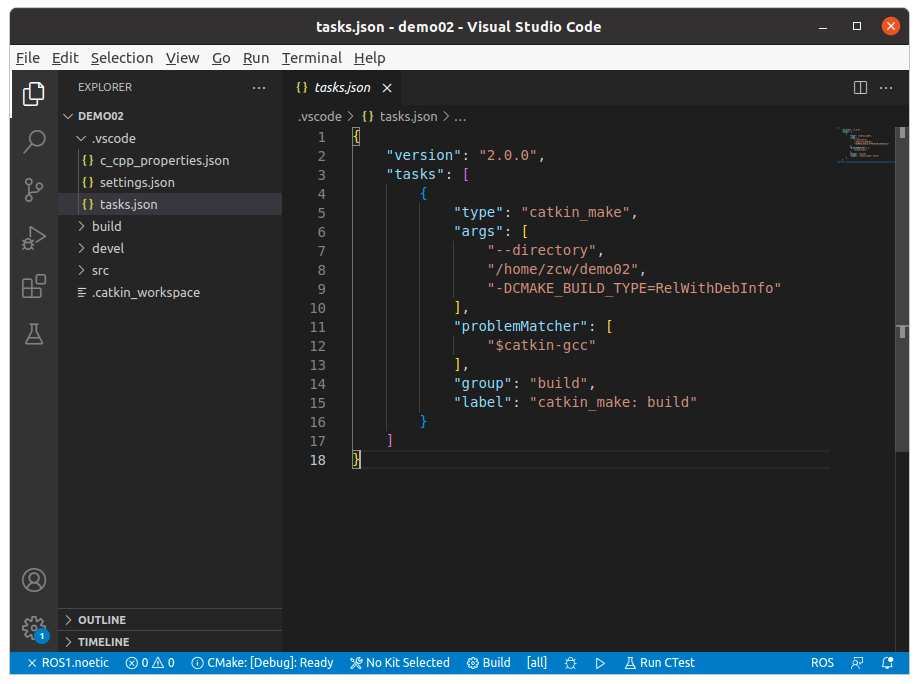
将文件内容修改如下:
1
2
3
4
5
6
7
8
9
10
11
12
13
14
15
16
| {
"version": "2.0.0",
"tasks": [
{
"label": "catkin_make:debug", //代表提示的描述性信息
"type": "shell", //可以选择shell或者process,如果是shell代码是在shell里面运行一个命令,如果是process代表作为一个进程来运行
"command": "catkin_make",//这个是我们需要运行的命令
"args": [],//如果需要在命令后面加一些后缀,可以写在这里,比如-DCATKIN_WHITELIST_PACKAGES=“pac1;pac2”
"group": {"kind":"build","isDefault":true},
"presentation": {
"reveal": "always"//可选always或者silence,代表是否输出信息
},
"problemMatcher": "$msCompile"
}
]
}
|
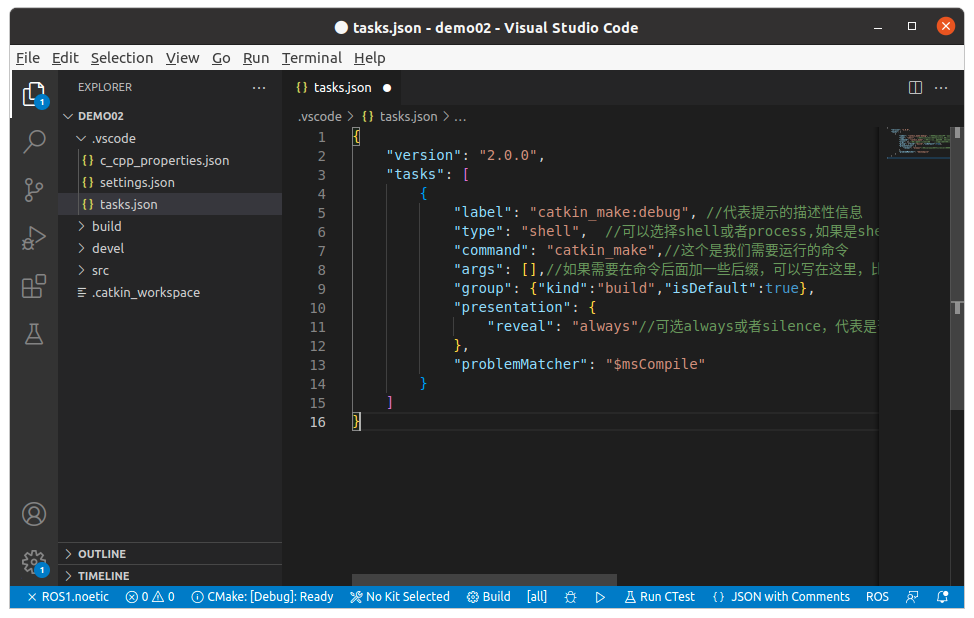
之后使用快捷键 Ctrl + Shift + B 即默认使用 catkin_make:build 进行编译。
3、创建 ROS 功能包
右键 src,选择 create catkin package,然后依次设置包名、添加依赖。


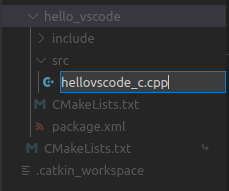
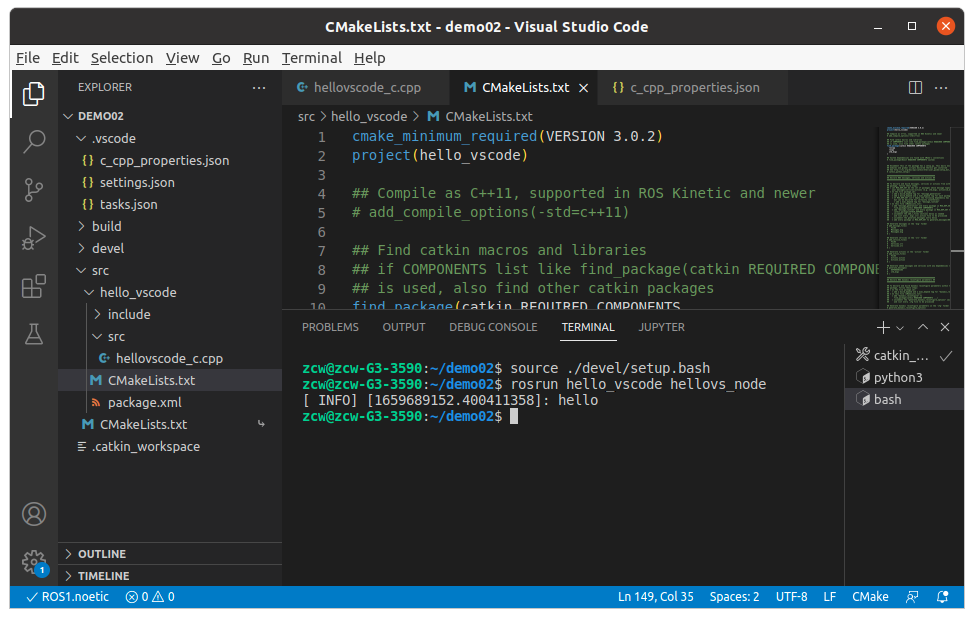
4、C++ 源文件
在
功能包的 src 下创建 cpp 文件。
编写 C++ 源文件:
1
2
3
4
5
6
7
8
9
| #include "ros/ros.h"
int main(int argc, char *argv[])
{
ros::init(argc,argv,"hello");
ROS_INFO("hello");
return 0;
}
|
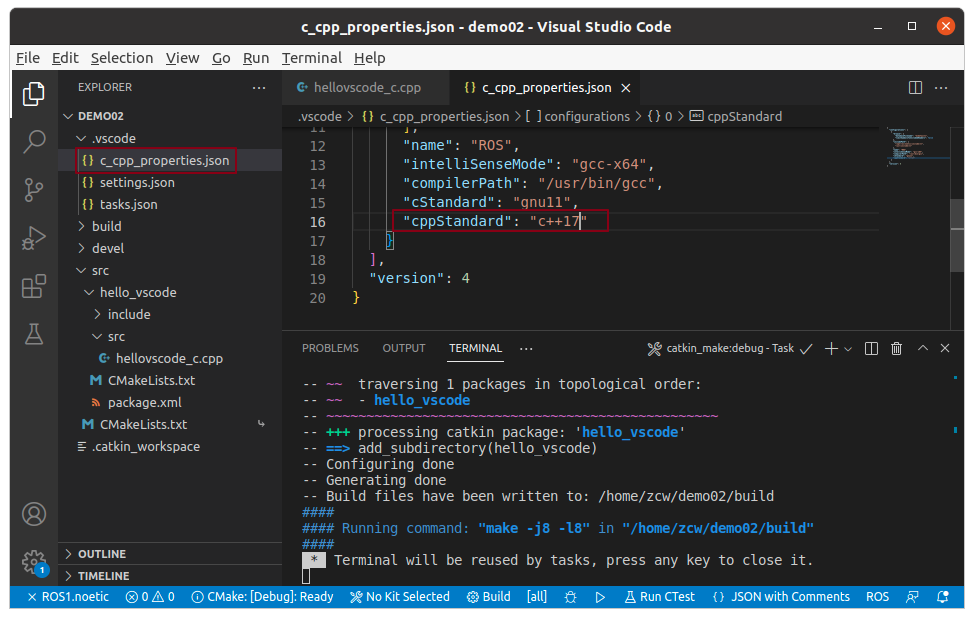
如果没有代码提示,则修改 .vscode/c_cpp_properties.json 中 cppStandard 的值为 c++17。
 当ROS_INFO 终端输出有中文时,会出现乱码,解决办法为在函数开头加入下面的任意一句代码。
1
2
| setlocale(LC_CTYPE, "zh_CN.utf8");
setlocale(LC_ALL, "");
|
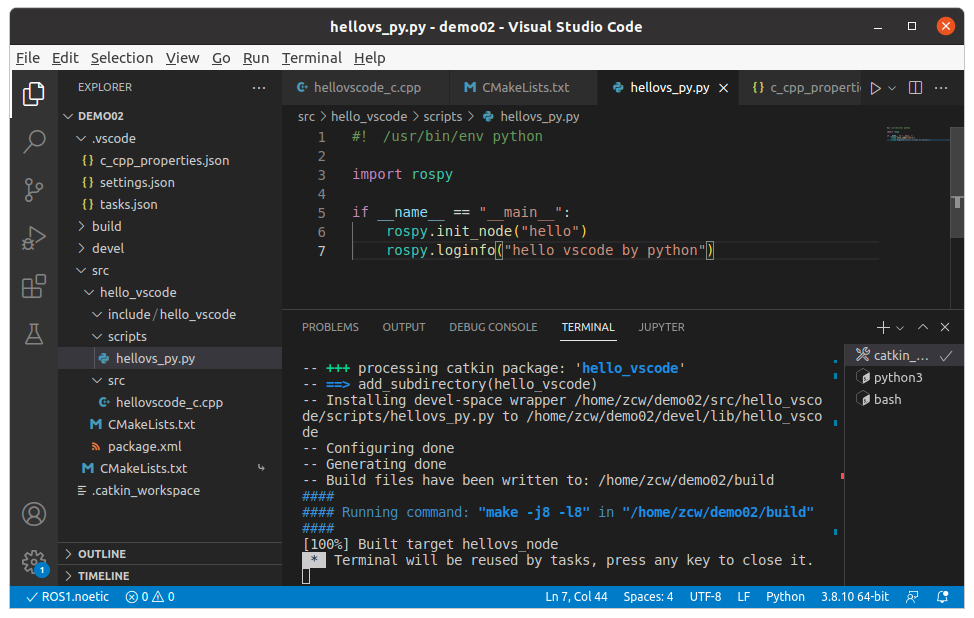
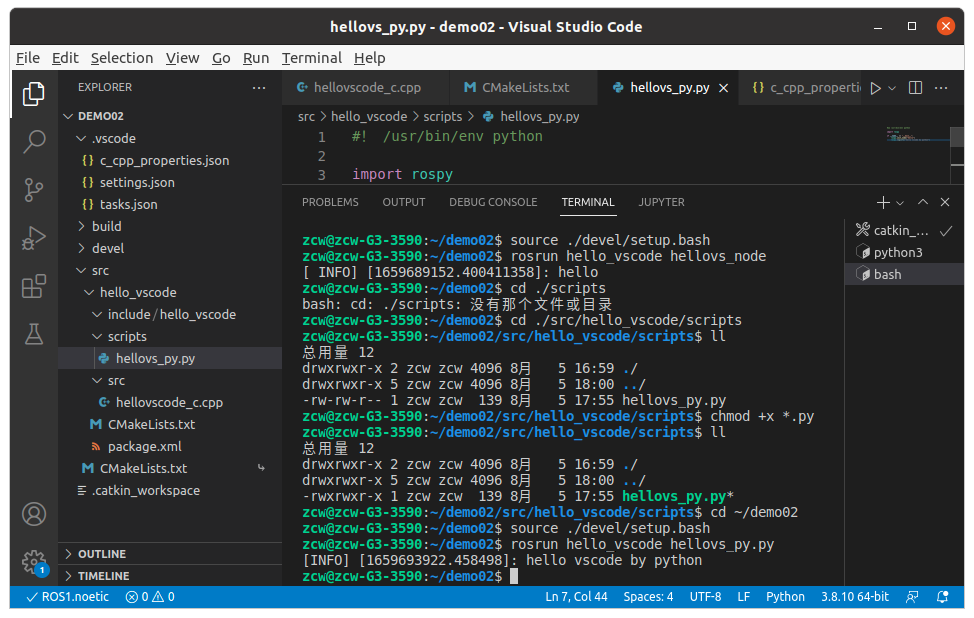
5、py 文件
在
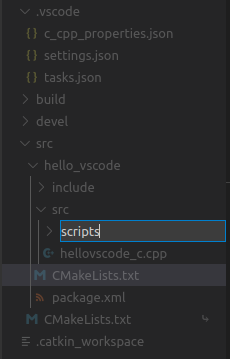
功能包下新建 scripts 文件夹,添加 py 文件,并添加可执行权限。
编写 py 文件:
1
2
3
4
5
6
7
8
| #! /usr/bin/env python
import rospy
if __name__ == "__main__":
rospy.init_node("hello")
rospy.loginfo("hello vscode by python")
|
6、配置 CMakeLists.txt
C++ 配置:
1
2
3
4
5
6
| add_executable(节点名称
src/C++源文件名.cpp
)
target_link_libraries(节点名称
${catkin_LIBRARIES}
)
|
Python 配置:
1
2
3
| catkin_install_python(PROGRAMS scripts/py文件名.py
DESTINATION ${CATKIN_PACKAGE_BIN_DESTINATION}
)
|
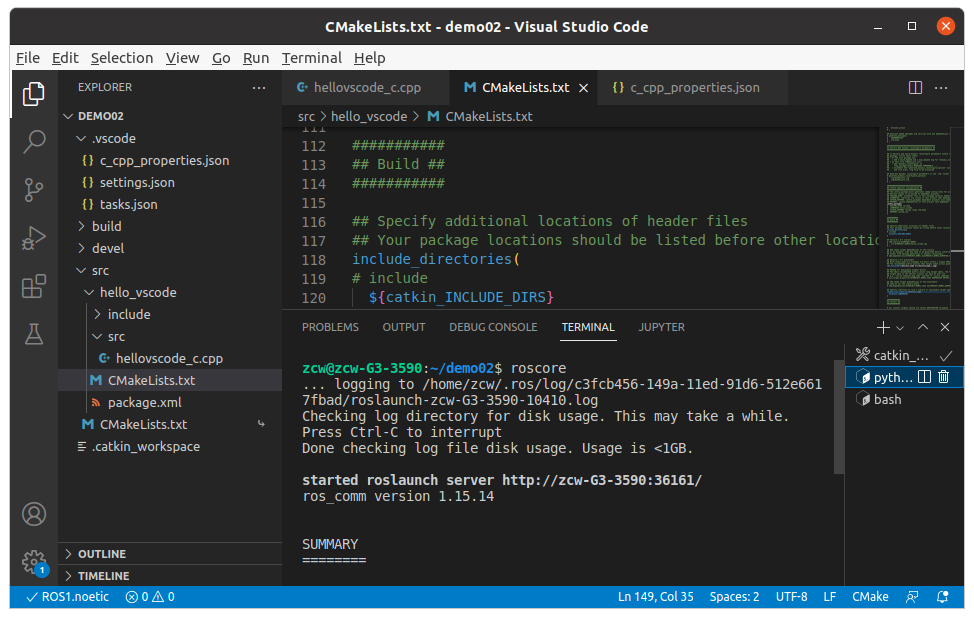
7、编译执行
编译:Ctrl + Shift + B。
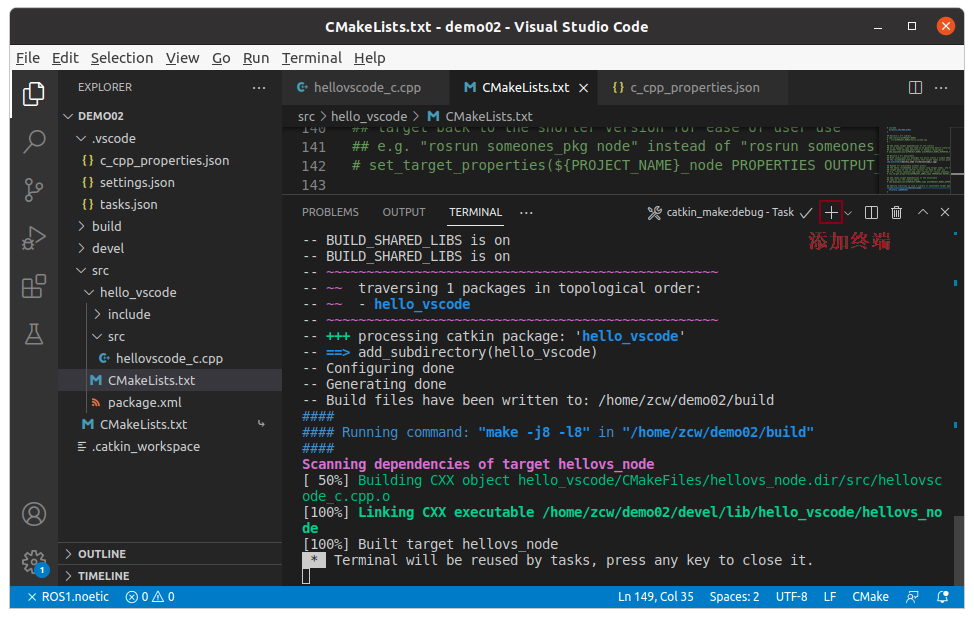
执行:可以在 VScode 中添加终端,命令与之前一致。
参考
【Autolabor初级教程】ROS机器人入门课程文档